How To Use
Manicure Kits
Step 1: Preparation
• Ensure you have a clean and organized workspace for manicure services. Don't forget to sanitise yours hands and the customer’s hands before starting any diagnosis with our Pre Service.
• Prep those nails: Say goodbye to the old nail polish and shape those nails with a nail file!
Step 2: Emollient Application
• Each glove comes pre-loaded with 26g of professional emollient cream.
• Get gloved up: Spread the emollient love all over your gloves.
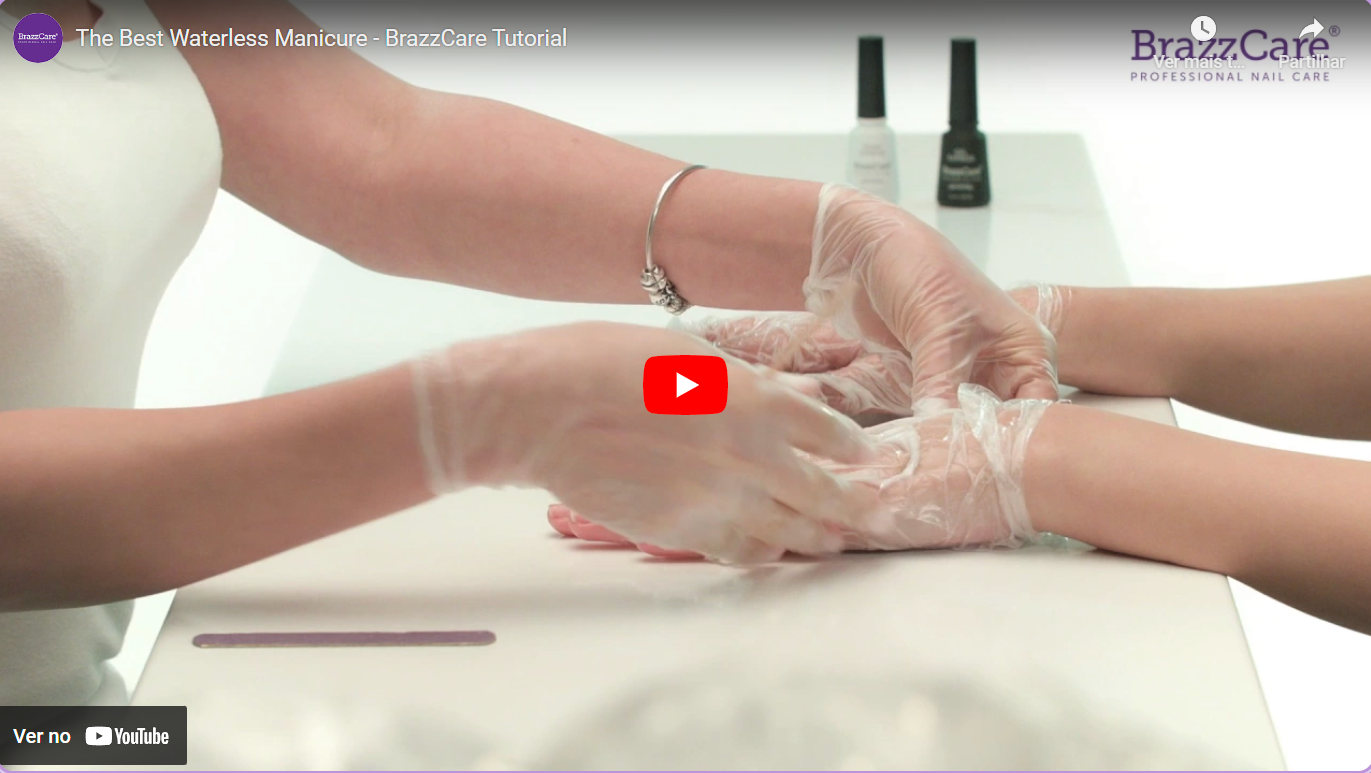
Step 3: Glove Application
• Glove glam: Slip on those Emollient Gloves and get ready for some hand pampering!
• The gloves provide a luxurious and moisturizing experience, softening the cuticles for a spa-like feel.
Step 4: Cuticle Treatment
• Tip cut: cut the glove tips and get down to business, taming those cuticles.
• Begin working on the cuticles, providing a thorough and relaxing treatment.
Step 5: Removal and Massage
• Remove the gloves and use the remaining emollient to massage the client's hands and cuticles.
• The emollient cream enhances the overall manicure experience, leaving the skin soft and nourished.
Step 6: Nail Polish Application
• Activating power: Hit each nail with alcohol to awaken the varnish fixative polymer that will make all the products that follow stick better to the nail.
• Proceed with the desired nail polish application, taking advantage of the soft and well-prepared nails. And don't forget, gloves are compatible with all types of manicure as long as you clean the nail properly.
Step 7: Cleanup
• Dispose the used gloves. Don't forget that they are for individual and unique use to guarantee safety in all services.
And voila! Your nails are ready to steal the show.
Enjoy the convenience of having a professional and complete solution for numerous manicure services.
Learn step-by-step